Video Walkthrough on WebUI

Video walkthrough of Napari's new WebUI features.
WebUI Video
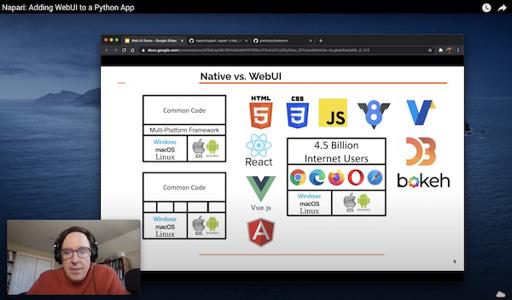
I recorded a 35 minute video focused on the WebUI work I did last year for napari. The WebUI work was something I sort of stumbled into while mostly focusing on asynchronous rending and the octree.
The idea is to turn an existing desktop application like Napari into a web
server. So rather than pointing your browser at an external webserver, you
point it to a port on your machine like localhost:5000. The application
then presents a web-based interface showing the internal state and allowing
you to interact with it using your web browser.
For a large application, having a second way to extend the functionality seems useful. I believe that web frameworks might easier for the developer and the user for certain types of UI.
Rather than cramming every bit of functionality into the main Qt interface, for example, maybe keep the main interface minimal and clean, but allow developer tools and debugging information in the WebUI.
This idea could be applied to any desktop application. If the application was open source with a compatible license you could even grab the code from Napari, but starting from scratch would not be too hard either.
I’m hoping that we see more and more desktop applications sprouting alternative WebUI interfaces in the future.
About The Video Production
This is the first video I’ve made with a picture-in-picture inset of me in the corner. After watching a lot of developer videos on YouTube I decided this little human element was worth the extra effort. When I watch developer videos, especially on my living room TV, I really appreciate having the person’s face visible in the corner.
I recorded the video using the built-in Quicktime Player on my Macbook, no extra software. You select New Movie Recording to get the PIP, and set it to float on top, but you don’t record a movie. Then you select New Screen Recording and it will record your screen with the PIP.
I imported the resulting single movie file into Descript. These days I wouldn’t dream of editing audio or video which contains speech without Descript. It’s a life-changing product. It allows you to edit audio and video as text, as easy as editing a Word document. You edit the text, and it magically edits the audio or video to match.
I hope to record some other videos with PIP and focusing on code in the future.